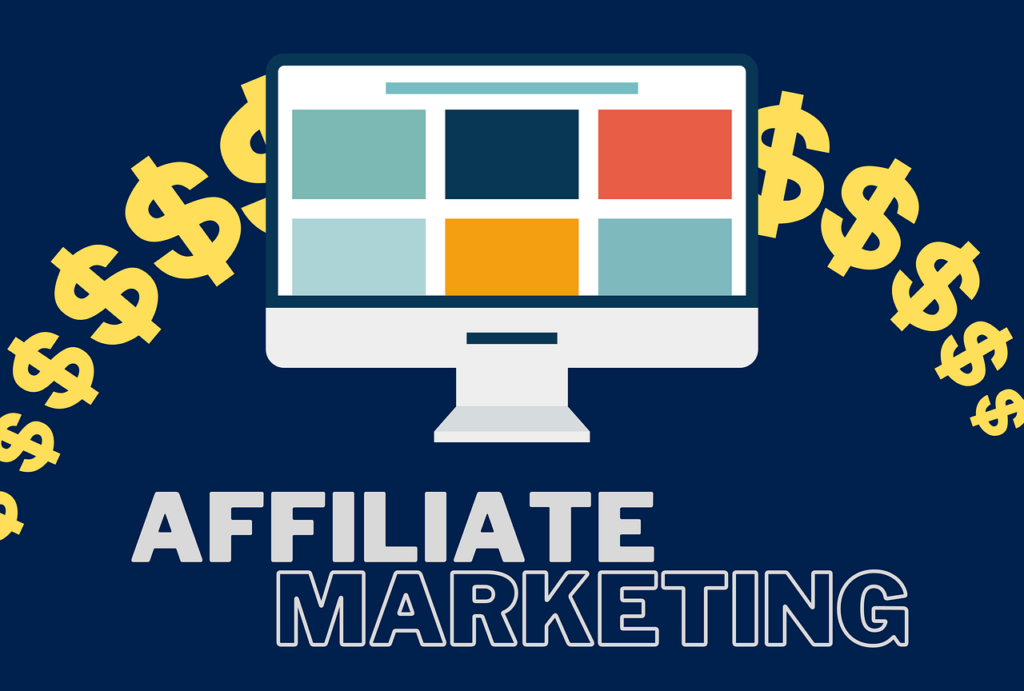
Mailchimp is an email marketing service provider founded in 2001. It has more than 15 million customers and sends over 10 billion emails per month. Mailchimp is used by small businesses and large organizations alike, and offers a variety of features and integrations to help businesses create and send emails. In addition to email marketing, Mailchimp also offers automation, landing pages, and other marketing tools.
In this report, we will see the 10 best ways on how we can automate our business using mailchimp.
SUBSCRIBE TO INCOME PATROL
Get updates on the latest posts and more from Income Patrol straight to your inbox.
ADD NEW SUBSCRIBERS TO YOUR MAILCHIMP LIST
Adding new subscribers to your MailChimp list from your business’s website or blog is a great way to keep your audience engaged and up-to-date on your latest news and offers. There are a few different ways to do this, and the best method for you will depend on how your website or blog is set up.
If you’re using WordPress, there are a few plugins that can help you automatically add new subscribers to your MailChimp list. One of our favorites is Subscribe2, which allows you to automatically add new users to your list when they register for an account on your site.
If you’re not using WordPress, or if you prefer not to use a plugin, you can still automatically add new subscribers to your MailChimp list by integrating your website or blog with MailChimp. This can be done using our API or by using one of our webhooks.
Once you have your website or blog set up to automatically add new subscribers to your MailChimp list, you can start building your audience and keeping them informed of your latest news and offers.
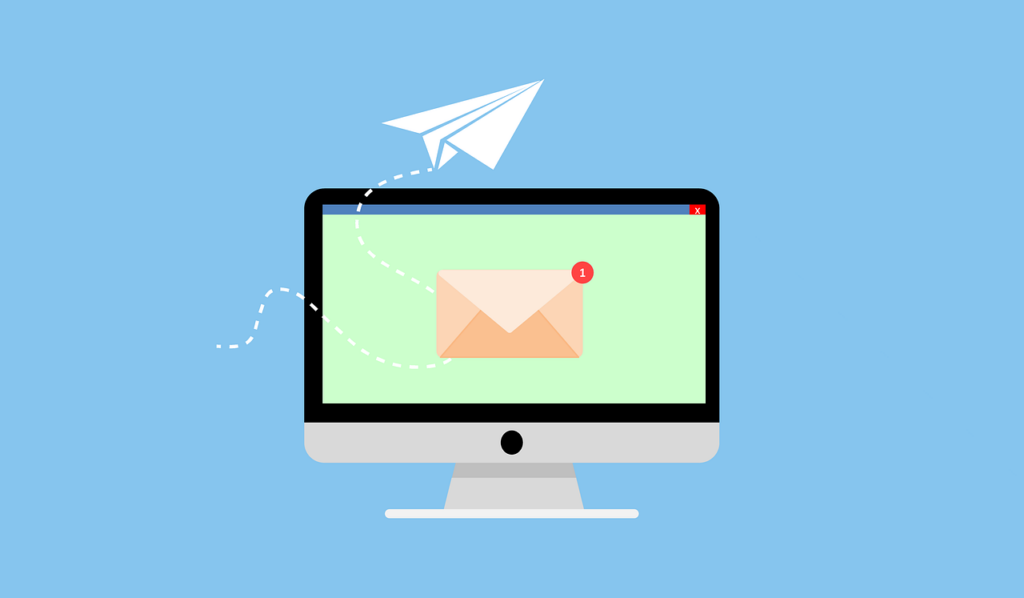
SEND AUTOMATED WELCOME EMAILS TO NEW SUBSCRIBERS.
Welcome emails are a great way to engage with your new subscribers and get them excited about your brand. MailChimp’s auto-responder feature makes it easy to send automated welcome emails to new subscribers. Here’s how to use it:
- Log in to your MailChimp account and go to the Lists tab.
- Click on the name of the list you want to add the automated welcome email to.
- In the list settings page, click on the Automation tab and then click on the Add Automation button.
- In the Automation setup page, select the Welcome new subscribers option and click on the Start button.
- In the next page, you’ll need to choose a sender for your automated emails. This can be your name or your brand’s name.
- You’ll also need to choose a subject line for your welcome email. Keep it short and sweet so that your subscribers will be sure to open it.
- Now it’s time to write your welcome email. You can use MailChimp’s email builder to create a beautiful email, or you can simply write your own. Be sure to include a call-to-action in your email so that your subscribers know what to do next.
- Once you’re happy with your email, click on the Save & Exit button.
- That’s it! Your automated welcome email will now be sent to all new subscribers.
AUTOMATED EMAIL CAMPAIGNS TO PROMOTE YOUR BUSINESS’S PRODUCTS.
With MailChimp, you can create automated email campaigns that are triggered by certain events, such as a subscriber’s birthday or the anniversary of their sign-up date. You can also set up automated campaigns that send out a series of emails, such as a welcome series for new subscribers or a series of informational emails about your product or service.
To get started, log in to your MailChimp account and navigate to the Automation tab. From there, you can create a new automated campaign or choose from a variety of templates to get started. Once you’ve selected a template or created a new campaign, you can begin designing your emails.
Be sure to include compelling content and a strong call-to-action in your automated emails, as this is what will encourage your subscribers to take action. You can also personalize your emails by including the subscriber’s name or other information in the subject line or email body.
Once you’ve designed your emails, it’s time to set up the trigger for your automated campaign. This can be done by selecting a list and choosing the trigger event from the drop-down menu. Then, simply specify when you want the campaign to start and click “Save.”
Now that your automated campaign is set up, sit back and let MailChimp do the work for you!
AUTOMATICALLY SEND ORDER CONFIRMATION AND SHIPPING NOTIFICATIONS.
With Mailchimp’s ecommerce features, you can automatically send order confirmation and shipping notification emails to your customers as soon as their orders are placed. This ensures that they’re always in the loop and knows exactly when to expect their purchase.
Here’s how to set up automatic order confirmation and shipping notification emails in Mailchimp:
- Log in to your Mailchimp account and go to the Automation page.
- Click the ‘Create Automation Workflow’ button.
- Select the ‘Ecommerce’ trigger from the list of available options.
- Choose the ‘Order Placed’ trigger option and click ‘Next’.
- Configure the details of your order confirmation email, such as the sender name, subject line, and email content.
- When you’re finished, click ‘Save & Exit’.
Your order confirmation and shipping notification emails will now be sent automatically to your customers whenever an order is placed.
SET UP AUTOMATIC REMINDERS
As a business owner, it’s important to keep your customers’ subscription or membership renewal top of mind. Fortunately, MailChimp makes it easy to set up automatic reminders to help you stay organized and keep your customers happy.
Here’s how to set up automatic reminders in MailChimp:
- Log into your MailChimp account and navigate to the Lists tab.
- Find the list you want to add the reminder to and click on it.
- In the list settings page, scroll down to the “Automation” section and click on the “Add Automation” button.
- In the pop-up window, select the “Customer Renewal” automation from the list of available options.
- Set up the trigger for the automation by choosing when you want it to send (e.g. 7 days before the subscription expires).
- Configure the reminder email by adding your content, images, and any other desired elements.
- Save your changes and activate the automation.
That’s it! You’ve now successfully set up automatic reminders in MailChimp for your customers to renew their subscriptions or membership.
AUTOMATICALLY SEND YOUR LATEST BLOG POSTS OR NEWS ARTICLES TO YOUR SUBSCRIBERS.
If you use MailChimp to send newsletters or other email campaigns, you can use its RSS-to-email feature to automatically send your latest blog posts or news articles to your subscribers. This can save you time by eliminating the need to manually create and send email campaigns.
To use this feature, first create an RSS feed of your blog or website’s content. This can usually be done by going to your website’s Settings page and finding the RSS feed URL. Once you have the RSS feed URL, log in to your MailChimp account and go to the Campaigns page.
Click the “Create Campaign” button and select the “RSS-Driven Campaign” option. Paste your RSS feed URL into the required field and configure the other settings for your campaign. These include specifying how often you want the campaign to send, what day and time you want it to send, and whether you want it to send the most recent or oldest content first.
Once you’ve configured the settings for your campaign, click the “Start RSS Campaign” button and your RSS-to-email campaign will be created and automatically send your latest blog posts or news articles to your subscribers according to the schedule you’ve specified.
SEND BIRTHDAY OR ANNIVERSARY EMAILS TO YOUR CUSTOMERS
On the special day of your customer’s birthday or anniversary, why not show them how much you appreciate their business by offering them a discount on their next purchase? By setting up automatic birthday and anniversary emails, you can remind your customers of how long they’ve been loyal to you, and offer them a coupon code for a percentage off their next order. Here’s how to set up automatic birthday and anniversary emails in your ecommerce platform:
● Log in to your ecommerce platform and go to the “Customers” section.
● Click on the customer’s name whose birthday or anniversary you want to celebrate.
● In the “Customer Information” section, you should see a field for “Date of Birth” or “Anniversary.” If you don’t see either of these fields, you may need to add them first in the “Settings” section.
● Enter the date of the customer’s birthday or anniversary.
● Save the customer’s information.
● Now, go to the “Settings” section and click on “Email.”
● Create a new email template for your birthday or anniversary offer. Be sure to include the customer’s name and a coupon code for a discount on their next purchase.
● In the “Recipient” field, select “Customer.”
● In the “Send On” field, select “Birthday” or “Anniversary.”
● Save the email template.
Now, every time a customer’s birthday or anniversary comes around, they’ll receive an automatic email from you with a special offer!
AUTOMATICALLY SEND FOLLOW-UP EMAILS AFTER SOMEONE ATTENDS ONE OF YOUR EVENTS.
You’ve just hosted a successful event, and you have a list of all the attendees. Now you want to make sure you stay top of mind with those potential customers by sending them follow-up emails. Fortunately, MailChimp’s event-triggered emails make it easy to send automatic follow-ups to your attendees.
Event-triggered emails are a type of automation that are triggered when someone takes a specific action, in this case, attending one of your events. You can use MailChimp’s event-triggered emails to automatically send follow-up emails after someone attends one of your events.
To set up event-triggered emails in MailChimp, first, create a new automation. In the “Trigger” section, choose “Event.” Then, select the type of event you want to trigger the automation, such as “Attends an Event.”
Next, in the “Recipient” section, choose the list of people who you want to receive the follow-up email. In the “Email” section, choose the template for the follow-up email you want to send. Finally, in the “Schedule” section, choose when you want the email to be sent.
Event-triggered emails are a great way to stay top of mind with your potential customers and make sure they don’t forget about you after your event.
Send emails to customers who haven’t interacted with you in a while.
If you’re like most online businesses, you have a database full of customers who haven’t interacted with you in a while.
It’s important to keep these customers engaged, or they may never come back!
One way to do this is to automatically send them emails reminding them of your business. Here are a few tips on how to do this:
- Use an email service that allows you to segment your subscribers. This way, you can create a separate list for customers who haven’t interacted with you in a while.
- Write an engaging email copy that will make recipients want to interact with your business.
- Use strong call-to-actions in your emails, such as “Visit our website today!” or “Check out our latest blog post!”
- Include a link to a landing page where customers can learn more about your business or take advantage of a special offer.
- Finally, send your emails at a time when they’re likely to be opened and read. For example, avoid sending emails early in the morning or late at night.
By following these tips, you can make sure your customers stay engaged with your business even if they haven’t interacted with you in a while.
USE WEBHOOKS TO TRIGGER AUTOMATED EMAILS BASED ON EVENTS
MailChimp’s webhooks allow you to trigger automated emails based on events that happen on your website or in your app. For example, you could use a webhook to send a welcome email to a new user when they sign up for your website.
To set up a webhook, first create a list in MailChimp. Then, go to the Lists page and click the drop-down menu next to the list you want to use. Select “Webhooks.”
On the Webhooks page, click “Create Webhook.”
In the “URL” field, enter the URL of your website or app. In the “Events” field, select the event that you want to trigger the webhook. For example, if you want to send a welcome email when a new user signs up, you would select “subscribe.”
Finally, select the list that you want to send the email to and click “Save.”
Now, whenever the event you selected occurs, MailChimp will send an email to the list you selected.
CONCLUSION
As a business owner, you’re always looking for ways to automate your business and make your life easier. One way to do this is to use Mailchimp. Mailchimp is a great tool that can help you automate your email marketing, making it easier and faster to get your messages out to your customers and clients.
Here are the key reasons why Mailchimp is a must for any business:
- Automate your email marketing: With Mailchimp, you can easily create and send email campaigns to your subscribers. You can automate your campaigns so that they go out on a specific schedule, or you can send them manually whenever you want.
- Stay organized: Mailchimp helps you keep your contact lists organized and up-to-date. You can segment your lists so that you’re only sending relevant information to specific groups of people.
- Save time: Mailchimp’s automation features will save you a lot of time that you would otherwise spend on manual tasks, such as creating and sending emails, or keeping your contact lists updated.
- Grow your list: Mailchimp makes it easy to grow your contact list by adding sign-up forms to your website or blog. You can also add people manually, or import them from other sources.
- Track your results: Mailchimp provides detailed reports that show you how your campaigns are performing. This information can help you optimize your campaigns and make sure that you’re reaching your target audience.
Mailchimp is a great tool that can help you automate your business. With its easy-to-use interface and powerful features, Mailchimp can save you a lot of time and effort.
LIMITED-TIME OFFER!
With LIFETIME ACCESS membership ($67) you have access to ALL exclusive materials (current and upcoming) for lifetime. We create new courses, ebooks, webinars and downloads on a regular basis. This offer expires soon and will be replaced with monthly-paid subscription, so hurry up! Get access HERE!