Your website is key to reaching your audience, helping prospects understand your business, and converting visitors into clients. That is why you have to ensure it attracts the right people, gets you the attention you need, and helps you increase sales.
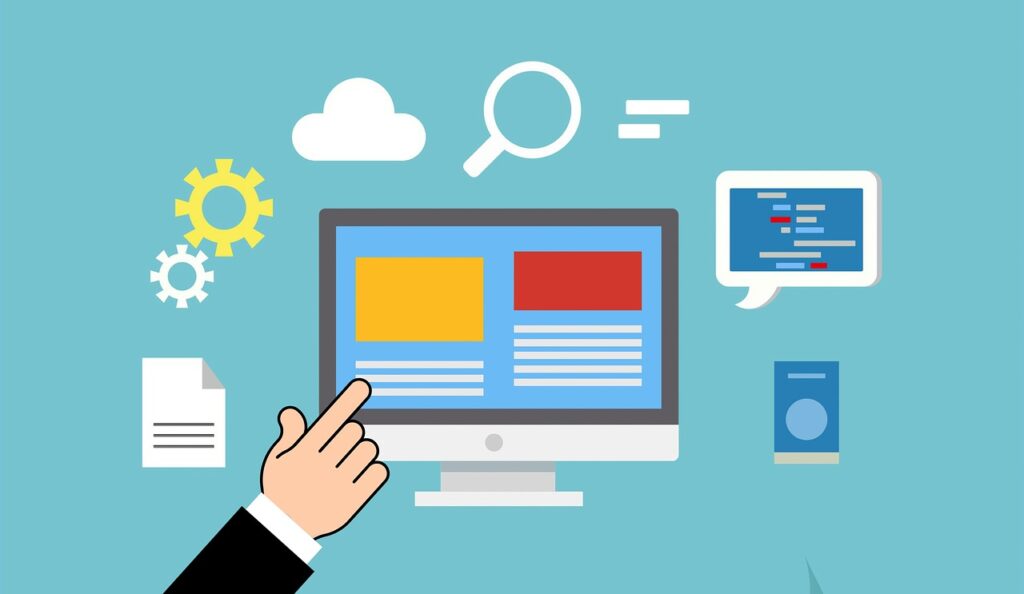
Structuring your content right and optimizing your images is important if you are to use your website as an effective marketing tool.
Image optimization helps you increase web traffic, retain your audience, improve site speed, and boost your rankings. So, prioritize it.
If you’re looking for ways to optimize your images without losing quality and get more site visitors, you’ve come to the right place.
That’s all we’ll talk about today.
SUBSCRIBE TO INCOME PATROL
Get updates on the latest posts and more from Income Patrol straight to your inbox.
1. USE HIGH-RES IMAGES
Adding images on your site is one of the best ways to attract your audience and keep them engaged. However, you have to pick images that are of high-quality and ones that represent your business right.
If you use low-quality photos or ones that have been used too many times on other sites, it will be difficult to attract the right audience and boost rankings.
So, in addition to choosing high-res images, make sure your photos are unique. This helps with SEO.
Use quality images to ensure your picture retains its quality after being optimized.
Find quality images on reputable sites like Unsplash, Pixabay, Pexels, and Freepik.
You can get free or paid ones.
Just make sure you read and understand the terms of use for every image you want to use to avoid copyright infringement. For example, is it free to download and use for any purpose? Do you need a license to use it? Or you can use it for free but have to attribute? Once you know that, you can go ahead and use it on your site.
Images downloaded from these sites are easy to compress or resize. Plus, they don’t lose quality after optimization.
2. USE THE RIGHT FORMAT
Picking the right image file format is key to improving page load times and boosting engagement. There are many formats to choose from. Nonetheless, you have to only focus on the best ones.
PNG, JPG, and SVG are the best options for the web. They are also the most common.
PNG images have higher quality than JPEG photos. They have a transparent background and are mostly used for logos and custom graphics. The transparent background makes it easy for you to use your image on colored backgrounds and ensure everything appears as it’s supposed to.
JPG files are smaller in size when compared to PNG images and can greatly improve your site speed. Compress them to improve site speed.
A JPG image can retain its quality after compression. So, you get to use a decent quality image with a smaller size. However, the image can lose its quality the more it’s compressed.
Use the JPG format for your website photos. For example, product images and employee photos.
The SVG format is used for logos, line art, and custom graphics. The images are responsive and can adjust to any screen size without losing quality. If you have graphs or icons on your website, make sure they are formatted with a .svg extension. This ensures your files are displayed correctly on all devices used by your visitors.
Use image-editing software to format or save any photos to the listed formats.
3. SPECIFY IMAGE DIMENSIONS
Specify image dimensions to provide the best user experience and ensure your photos display correctly on different devices.
Specify the width and height to also allow browsers to size your images before loading the CSS files. This is also a great way to help the browser understand how much space is to be allocated for the image. Therefore, preventing the content from shifting around the page.
If you want to show different angles of your product and keep your visitors engaged, define image dimensions for each photo. It is advisable to always use smaller image sizes for faster page load times.
Larger file sizes can slow down your site. However, if you want to use them to show prospects different product angles, you can add them as a pop-up on your page. That way, you can ensure your visitors view the larger version of your product without the image interfering with page speed.
4. COMPRESS YOUR IMAGES
One of the main things that lead to slow page load times is uncompressed images. Your visitors won’t wait for more than 5 seconds for your image to load. That’s why it’s important to compress or resize them.
Page load time also influences how Google ranks your website. So, if your images or any other web content slows down your site, ranking high on the SERPs will be a challenge.
When you resize your images, your site becomes more visible. Making it easy for prospects to find you and buy from you.
So, make sure you compress your images before uploading them to your site. This will not only help you rank high on search engine results pages but greatly improve the user experience.
Your site visitors will stay longer on your pages and you’ll have a greater chance to turn them into buyers.
You can choose between lossy compression and lossless compression.
Lossy compression is when some data or pixels are eliminated to reduce the image size. The image can be reduced by a large amount but the quality can be lost.
Lossless compression compresses data while retaining the image quality. So, the picture quality stays the same as the file size is reduced.
Compress your images with Adobe Photoshop, TinyPNG, or JPEG Optimizer.
Use PageSpeed Insights or any other web page test tool to see how your images are affecting your site’s speed.
5. ADD ALT TAGS
Add alt tags to your images to make sure your site ranks high on the SERPs and in turn, get more traffic to your site.
Alt tags make it easy for search engines to understand your images. They also give the best user experience and cater to all your website visitors.
So, make sure all your images have alt tags. Assign descriptive names and descriptions on every image you upload to boost your rankings.
Use relevant keywords that make it easy for search engine crawlers to understand what your image is about.
Identify and use common keywords people type on search engines to find certain products or services you are advertising to ensure you reach your audience.
Change all default names on your pictures and use custom names relevant to your audience. Doing this helps you rank high on searches, improve visibility, and increase website traffic.
Another option is to include captions on your images to improve the user experience and make it easy for people to click on your images.
6. USE SEO-FRIENDLY ALT TAGS
Optimize your alt tags to improve your rankings. Make sure your alt attributes are SEO-friendly to rank high on search engines and also give your users the best overall experience.
Optimizing your alt tags also helps visually impaired users or people with image displays turned off to understand your pictures. Ensuring they stay longer on your pages, easily engage with your content, and keep coming back to your site.
Alt tags also make it easy for users with slow internet connections to engage with your content and remain on your pages. So, you won’t have a higher bounce rate when browsers can’t properly display your images because the alt tags explain what your image is.
When writing your alt tags, make sure you use keywords relevant to your audience and use short text, names, or descriptions.
Add one keyword to your image title and at least two to your description.
7. OPTIMIZE YOUR IMAGES FOR MOBILE VIEW
One of the main things that lead to a high bounce rate is images that don’t display correctly across devices. You want to make sure all users easily engage with your content despite the type of device used to browse your site. That means people viewing your website on their mobile devices must have the same experience as those using desktops.
So, optimize your images for mobile view. Make sure mobile users can view your images properly. This will greatly improve the overall user experience and increase your conversion rates.
Create responsive images that easily adjust to any device. Make sure the image scales with the device used by your site visitors. Doing this reduces your bounce rate, improves the user experience, and can greatly increase traffic to your site.
8. LEVERAGE IMAGE SITEMAPS
Sitemaps help search engines understand the layout of your website. They make it easy for them to understand how your site or content is organized and are important for SEO. So, add your images to your sitemap or just create a sitemap for your images.
It’s easy for search engine crawlers to index your images and boost your rankings if you include your images in your sitemap.
Add relevant titles, descriptions, captions, and URLs on your image map entries to improve visibility and get more traffic to your site.
If you have a WordPress website, you can install reputable SEO plugins like Yoast SEO or All in One SEO (AIOSEO).
The plugin will automatically add the content to your site map. All you have to do is install and set it up.
9. USE THE BEST IMAGE OPTIMIZATION TOOLS
Image optimization tools make it easy for you to optimize your images and greatly improve your website speed.
They do most of the work for you and take the load off your shoulders.
You can greatly improve your site speed and increase your web traffic by using these tools.
Some of these programs are free while others are paid. Depending on your needs, goals, and website, choose whichever option you prefer.
Some of the best tools to look into are TinyPNG, Adobe Photoshop, OptiPNG, Gimp, and imageresize.org
TinyPNG is by far the most popular image optimization tool you can use. It can reduce image file sizes for PNG files, JPEG files, and webpage files without losing quality.
If you have a WordPress site, use the best plugins and never worry about doing the compressing on your own.
The plugins automatically compress your images every time you upload them. The plugins can also optimize existing images if you’ve already uploaded them to your site. All you have to do is select the right plugin, download it, install it, and activate it.
The plugins can improve web speed, give users the best experience, increase visibility, and help you get more conversions.
Some of the best image optimization plugins you can use are Smush, Imagify Image Optimizer, Optimole, ShortPixel Image Optimizer, EWWW Image Optimizer, and WP Rocket.
Most of these plugins can compress multiple files and carry out lossy compression and lossless compression.
Some of the files that can be compressed are JPG, PNG, WebP, GIF, and PDFs.
Choose and use a plugin that gives you the flexibility you need and helps you reach your goals.
10. TEST AND MEASURE IMAGE PERFORMANCE
The main reason for adding images to your site is to reach your target audience and convert visitors into buyers. Your images have to bring your audience to your site, capture their attention, and encourage them to interact with your content. So, in addition to optimizing your images, you have to test and measure image performance to ensure your images serve their purpose.
Answer key questions: “What is the purpose of each image you have on your site?” “Does it serve its purpose?” “Does it communicate your message?” “Does it help the user understand your business better and connect with it?” And “How effective is it in attracting prospects and keeping them on your site?” Answer these questions to determine how effective your images are and make the necessary improvements.
Figure out how many images you should have on each page and whether or not some pages need more images than others. For example, your product or services page.
Find out how your target audience reacts to fewer images and more images on certain pages. For example, does your click-through rate increase when you have fewer or more images of the same product on your page or email? What leads to more sales?
Experiment until you identify what works.
Remember that the number of images per page can also have an impact on your site speed and page load times. So, avoid using too many images. Especially if there is no need to do so.
If you want to show different angles of the same product, don’t use more than 5 images. Only show angles or unique features that prospects are interested in. Ones that attract more clicks and help you increase your conversion rates.
Depending on your business, product, and audience, you may discover that having more images attracts more sales. However, in some cases, fewer images can lead to more clicks and better conversions.
The only way to figure out what’s best for your target audience is to experiment and test both options.
The most important thing to do is keep your potential customers in mind and give them the best user experience. That is how you attract a bigger audience, retain their attention, and turn them into long-term customers.
The best way to determine what works is to run a short survey and ask your visitors what they prefer. You don’t have to be direct about it. Just ask them what they liked most about your product images and the way they were presented. Ask them which pictures they like and why they prefer them to every other image. Is it the image quality? Does the image make it easy for users to understand your product? Are users drawn to the image quality and size? Do they prefer specific images because of the captions, descriptions, and calls to action?
Figure out what your audience prefers and cater to their needs.
Keep your surveys short and straight to the point. Only ask relevant questions and make it easy for your audience to provide answers.
Your survey should contain no more than 8 questions. It should take no more than 3 minutes to complete. That is a great way to get more people to participate and share their experiences.
Use the above-mentioned hacks to improve your SEO rankings, attract a bigger audience, boost web traffic, and increase sales.
Remember, your website speed determines how many people visit your site, engage with your content, and turn into clients. Image optimization plays a crucial role in improving page load times. So, prioritize it.
LIMITED-TIME OFFER!
With LIFETIME ACCESS membership ($67) you have access to ALL exclusive materials (current and upcoming) for lifetime. We create new courses, ebooks, webinars and downloads on a regular basis. This offer expires soon and will be replaced with monthly-paid subscription, so hurry up! Get access HERE!