As a business owner, video marketing is one thing you need to take advantage of.
Many people engage best with videos and prefer them above other types of content.
Creating high-quality, engaging videos can turn your business completely around. It can help you reach more people, attract qualified leads, and increase your conversions.
That is why successful organizations use video marketing to grow their businesses.
SUBSCRIBE TO INCOME PATROL
Get updates on the latest posts and more from Income Patrol straight to your inbox.
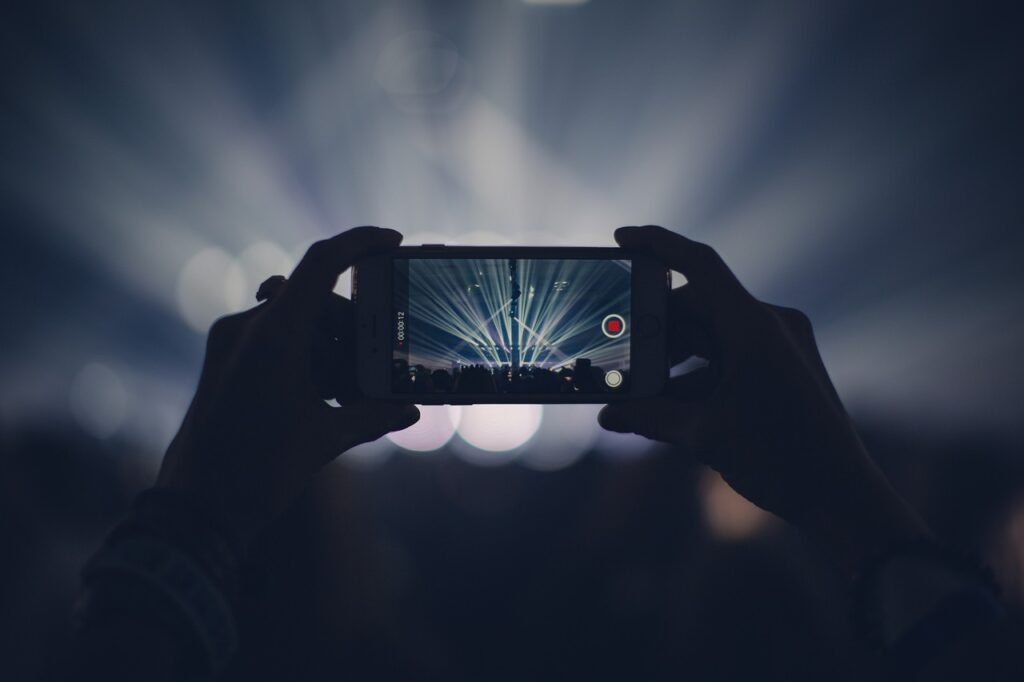
Your iPhone can help you create high-quality videos that convert.
You don’t even have to be an expert in filmmaking.
Mastering a few important techniques can turn you into a pro and allow you to reach your goals.
Today we’ll cover 10 secrets to creating a product video with your iPhone so you can promote your products or services more effectively.
1. PLAN YOUR VIDEO
The only way for your project to succeed is to plan for it. You have to determine the best way to draw your target audience and get conversions.
Your video must tell a story that appeals to prospects. One they can relate to or connect with. One that makes it easy for them to understand your product and want to know more about your business. That is the only way to turn video marketing into a success.
Work on your script and the production process. Keep practicing and finetuning until you are satisfied with the result.
Remember that it’s impossible to create the perfect product on your first attempt.
So, keep practicing, making mistakes, and improving your scripting process until you get it right.
Decide what you want your video to focus on and how long it’s going to be. Then write your storyline.
The most important thing is to have a goal and let it guide you throughout the production process. For example, know what you want your viewers to walk away with.
Answer key questions: “What key points do I want prospects to focus on?”, “What sort of emotion do I want to arouse?”, “What action do I want my viewers to take?”, And “What sort of video am I producing?”
Do you want to promote a new product? Do you want to attract new leads and get more sales? Perhaps you want to nurture and strengthen existing customer relations with your video? Whatever your goal, state it and focus on it throughout the process.
This saves time and helps you complete the production process faster and effectively.
2. SET UP YOUR DIY STUDIO
Your filming location is as important as creating the product itself. Choosing the right space helps you produce a professional video that can attract more views and ensure conversions.
So, determine the best location to start filming. Choose one that’s quiet, spacious, customizable, and has zero disturbances.
If you are shooting out in public, hang signs to keep people away from your filming area. You can ask a friend or colleague to work with you and help block off the area until you finish.
This is important because the last thing you want is to waste time recording the same scene over and over because of disturbances.
If you are filming indoors, book a conference space or use a quiet and spacious room in your home.
Hang a ‘Do Not Disturb’ sign outside your door and ask the people you live with to keep the noise down and not interrupt you for a specific period.
Set up your DIY studio and choose proper lighting, sound, and background.
Turn off notifications before filming to keep them from disturbing you once you start.
Make sure your iPhone is set to ‘Do Not Disturb’ mode to keep notifications in the background and avoid interruptions.
Simply swipe up and tap the ‘moon’ icon. Tap it again when you are done filming to get back to normal settings.
3. FOCUS ON LIGHTING
Use proper lighting to capture the viewers’ attention and ensure you create a great product.
Turn off the overhead lighting and aim to create the impression of natural light even indoors.
Invest in a good lighting setup or choose a room with lots of natural light and film near a sunny window. Light up the room as much as you can and keep it bright.
Place a light in front of what you are filming and one on either side of the subject for perfect lighting.
Focus on audio and make sure there are no echoes or outside noises.
Your video sound can determine who watches to the end and who doesn’t.
Low-quality sound forces viewers off your content before they even hear what you have to share.
So, to stop that from happening, absorb the sound in your room with furniture or by simply hanging blankets.
Another option is to record the video with one phone and use another to record sound. Combine the two when you are done filming.
You can also buy sound dampening panels. If you prefer.
They mitigate unwanted noise, improve audio quality, enhance the production process, and help you reach your goals faster.
4. MAKE SURE YOUR IPHONE IS STEADY
Keeping your camera steady is one thing you need to do to create professional videos.
So, buy a tripod to keep the camera steady throughout the shoot.
Don’t rely on your hands because they aren’t steady enough to keep the video clear and stable.
Remember that your video production will reflect on your brand and people will judge you based on what you share. This means if your videos aren’t professional, prospects will doubt your offers and lose interest in doing business with you.
Buy a tripod and make sure your phone doesn’t move while shooting.
Search for the best tripods and mounts on Amazon and other retailers.
Choose one that’s sturdy, easy to use, lightweight, adjustable, and has a reliable grip.
Consider your video goal, scenes, and location when buying.
5. ADJUST YOUR CAMERA SETTINGS
Adjust your camera settings to create professional videos.
Go to ‘Settings’, choose ‘Camera’, tap on ‘Record video’ and change the default setting.
Experts recommend you choose the 4K at 24 fps option to take advantage of full resolution and keep your videos looking professional.
Use your iPhone’s built-in image optimization features to stabilize your shot and make sure you don’t produce shaky videos.
The optical image stabilization feature is available on iPhone 6 Plus and later models.
Newer iPhones have more advanced stabilization features that allow you to record steady videos even while walking around.
Film horizontally to give users a great overall experience despite the devices they are using.
Horizontal filming is ideal for YouTube videos and Facebook videos. So, if you want to share your content on those platforms or any other video hosting site, film horizontally.
You can record your videos vertically if you are filming for Instagram or Snapchat because that’s how they are consumed.
6. USE A MICROPHONE
Use a quality microphone to get good sound. Keep it close to your mouth or the subject’s mouth to minimize external or distracting noise.
Plug your microphone into the iPhone’s headphone input for better results.
Buy one from your local stores or online.
You can also build a boom mic setup if you want. Especially if you want to film lots of movies. However, it’s a little expensive and quite frankly, not necessary because you can get the same results with a simple microphone.
You have plenty of options to choose from when buying. Just make sure you pick a microphone that produces good sound and has all the features you need.
Pay attention to the customer reviews and ratings if you are buying online.
Read the product features to understand how the product works, what sort of filming it’s ideal for, sound quality, and noise cancellation capabilities.
7. CHOOSE THE RIGHT BACKGROUND
Choose a background that goes with what you are shooting. Don’t use an unprofessional and strange background as it can distract your viewers.
Select a dark, uniform color background that doesn’t draw the viewer’s attention.
Remember that your main goal is to keep prospects concentrating on your message and ensuring they take the desired step. So, if anything distracts them, reaching your goal is going to be hard.
A one-color background can be a roll of paper, a sheet, or your wall. Just make sure it doesn’t have any imperfections in it because they’ll interfere with quality.
Another option is to use a branded background that displays your company logo or mantra.
One thing that retains viewers’ attention and gets you the reaction you are looking for is background music.
If you choose the right music that goes with your content, you can get more interaction and attract a bigger audience.
Just make sure you avoid copyrighted music so your video doesn’t get removed from streaming platforms.
Search for and use royalty-free music to make an impact and improve the viewer’s experience.
8. DON’T USE ZOOMING
Don’t use your iPhone’s zoom capability feature because it enlarges images. Making them shaky, pixelated, blurry, and unprofessional.
If you want to get a closer shot, move your setup closer to the subject so you won’t have to zoom in.
However, if you have an iPhone 7 Plus camera or later models, you can use the zooming feature without interfering with quality.
Tap the zoom button on the camera and switch between 1x, 2x, and beyond. Depending on the model you are using.
Use the built-in optical image optimizer (OIS) to reduce the camera motion and ensure your images aren’t blurry.
If you are using an iPhone 11 or later, you can use the ultra-wide camera to get a wider shot of your subject.
Use a clip-on lens adaptor if you want to take wide-angle photos with former models.
The video effects option is another great feature to take advantage of.
You can create hyper-lapse videos or motion videos.
However, don’t overdo it. Use them carefully and make sure they fit with your script or storyline.
Another option is to use camera apps. They help boost your camera’s functionality and have great features that allow you to effectively reach your goals.
Some of the best iOS camera apps are ProCamera+, VSCO, Adobe Lightroom for iOS, and Mark ll Artist’s Viewfinder.
9. LOCK YOUR EXPOSURE
Use the exposure lock feature to stop your phone from continually readjusting and refocusing your video.
When taking pictures, the iPhone does a great job finding the subject to focus your camera’s exposure on. Allowing you to take professional and high-quality photos.
However, when it comes to filming, you have to lock your exposure so that your videos aren’t blurry and out of focus.
Lock the exposure by holding down your finger on what you are filming until a yellow box and ‘AE/AF Lock’ shows up. Do this before pressing the record button.
After locking the exposure, you can go ahead and start recording your video.
The iPhone AE/AF Lock feature helps you keep the exposure from changing and allows you to maintain the same brightness between shots. This is important if you want to make professional videos that get you the attention you desire.
10. EDIT YOUR VIDEO
Once you are done filming your video, make sure you edit it to get rid of inconsistencies and anything you don’t want.
Make sure it’s as you want it to be before it gets published.
You can use the iPhone’s visual editing tools or the best, compatible editing software on your laptop.
You can add sound, adjust filtering, add captions, and do so much more with the right software.
Use iMovie, Clipper, Adobe Premiere Pro, and FilmoraGo for iOS.
iMovie is a default app and one of the best and most widely used camera apps among iPhone users.
It enables you to easily edit your videos and play around with different features.
You can trim clips, add text, add music, change themes, add filters, add voice-overs, split clips, speed up clips, slow down clips, and so much more.
iMovie allows you to upload your clips and edit them whichever way you want.
It is quick to update changes and makes it easy for you to effectively work on the editing process.
All you have to do is drag your video, drop it, and start editing.
Clipper is easy to use, free, and makes it easy for you to turn your video clips into mini-movies.
You can arrange clips, edit, apply effects, and add music in seconds.
The editing software is best for beginners and not-so-advanced tech users.
Adobe Premiere Pro has a responsive interface, supports multiple formats, and automatically syncs your projects to the cloud.
The editing app works on both iPhones and iPads.
It has great features that allow you to edit your videos the way you want to so you can have a great end product.
You can create effects, add music, apply color, add text, and so much more.
FilmoraGo for iOS is one of the best video editing software you can look into.
It is easy to use and has advanced features to take your video marketing to the next level.
You can create videos, edit, split screens, stabilize your video, change color, and more.
The app features video cropping, title elements, filtering, audio equalizer, GIF support, video controls, audio controls, 4K resolution editing support, and more.
You can change the speed of the video to whatever you want. For example, speed it up or slow it down according to your needs and preferences.
Use the best editing software that helps you reach your goals.
Your choice depends on your budget, video goals, and what sort of features you want to incorporate into your clips.
Pick your app and go on YouTube to learn more about using it.
You’ll find lots of videos that will walk you through the editing process step-by-step.
All you have to do is follow the instructions.
FINAL WORDS
Creating professional videos with your iPhone is easy and the best part is that you don’t have to be a professional to do so.
All you need to do is learn the best techniques and know what you want to achieve from your video.
State your goal and write your script before recording.
Know what you want to focus on and what you want your viewers to walk away with to ensure video marketing success.
Choose the right location or space for filming. Consider lighting, sound, and background.
Pick a space that provides you with natural light to keep your videos looking professional.
Buy a high-quality microphone for great audio quality and to eliminate distracting noises.
Choose a background color that’s dark, professional, and uniform to retain your viewers’ attention and minimize distractions.
Adjust your camera settings and lock your exposure to avoid producing shaky and blurry videos.
The iPhone AE/AF Lock feature helps you keep the exposure from changing and allows you to maintain the same brightness between shots. This is important if you want to make professional videos that get you the attention you want.
Use editing software to improve video quality and get rid of any elements you don’t want.
LIMITED-TIME OFFER!
With LIFETIME ACCESS membership ($67) you have access to ALL exclusive materials (current and upcoming) for lifetime. We create new courses, ebooks, webinars and downloads on a regular basis. This offer expires soon and will be replaced with monthly-paid subscription, so hurry up! Get access HERE!